
Savory and smooth flavors in a kaimak recipe
Kaimak is said to taste heavenly, but it's not easy to make at home because of the long cooking process. Today, we're going to share a quick and easy kaimak recipe that uses starchy flour instead of the traditional recipe. With this recipe, you'll be able to make kaimak at home quickly and easily. Let's get started with the easy kaimak recipe.
What is a kaimak?
Kaimak is a traditional dairy product originating from Turkey and the Middle East, characterized by its rich cream and savory flavor. Traditionally made by boiling fresh milk and then slowly simmering it for a long time, it's a concentrated cream that's often used for breakfast or dessert. It's often referred to as "heavenly" because of its smooth, nutty flavor. It's especially popular in Turkey, where it's spread on bread with honey or served with nuts for added flavor.
For more information about Kymak, see Herefor more information.
Recipe: Making kaimak
Recipe information
Preparation materials
- Starch flour: 35 grams
- Milk: 100 g
- Whipped cream: 600 grams
- Flavored butter: 35 grams
Tools to use
- Weighing scales: Use for accurate ingredient weighing
- Whisk: Required to gently mix starchy flour with liquid
- Pots: Used during the boiling process
- Pan: Used in the finishing cooking process
Product information used
- Cornstarch: A must-have ingredient for quick kaimak (can be substituted with other starchy flours) 👉 . See products
- Whipped cream: It's animal-free whipped cream, but you can substitute animal-free whipped cream 👉. See products
- Whipped cream: Animal-free whipped cream is a great substitute when you can't find fresh whipped cream 👉. See products
- Flavored butter: It's a salted, salted butter that comes in 10g packages, so it's easy to use. 👉 I love it. See products
"This post is part of my work with Coupang Partners, which means I will receive a small commission if you click on the link. Please check the product information before purchasing as it may not be the lowest price."
The creation process
Unstarching
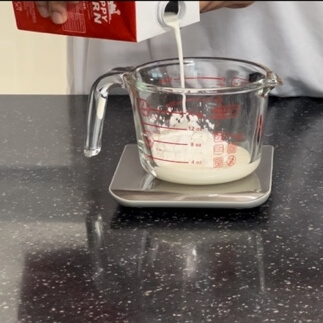
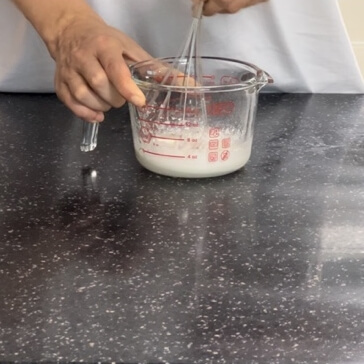
Mix 35 grams of starch powder with 35 grams of milk to loosen it up enough. Be careful not to lump the starch.
Mixing ingredients
Add the remaining 65 grams of milk and mix well - the starch powder should be completely dissolved. Then add the 600 grams of fresh cream and mix well again.
Melt the butter
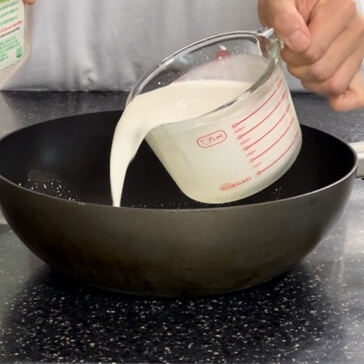
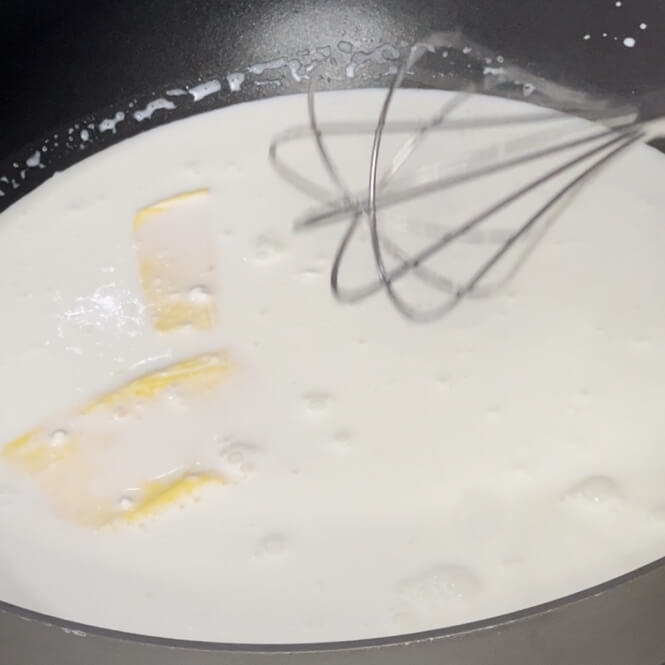
Transfer the whipped cream mixture to a large saucepan and add 35 grams of butter. Heat the saucepan with the whipped cream mixture over high heat, stirring until the butter melts.
Primary Boil
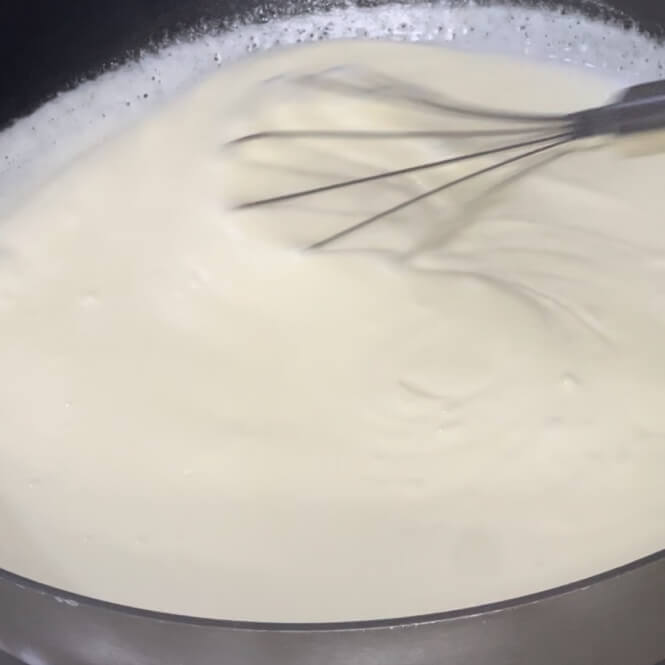
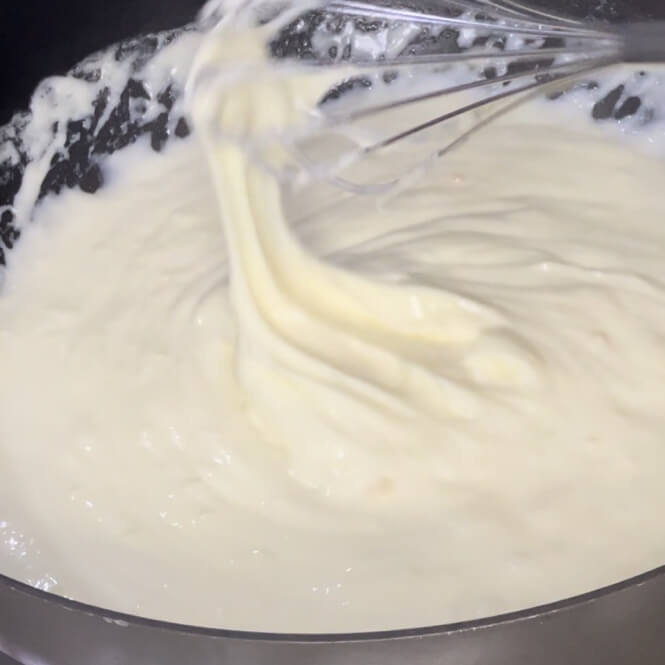
Once the butter is melted, reduce the heat to low and simmer for 15 minutes, stirring constantly. You don't need to stir quickly, but it's best to keep stirring without stopping. Stir slowly and constantly.
Heating in a wide pan
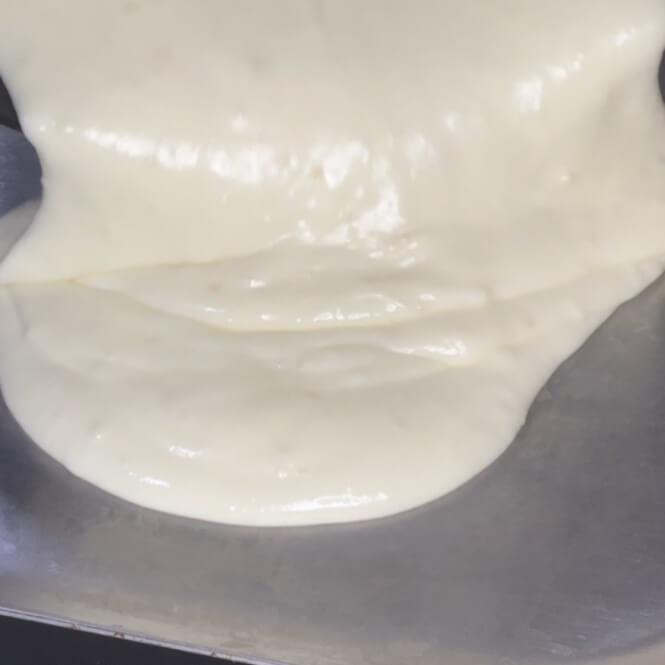
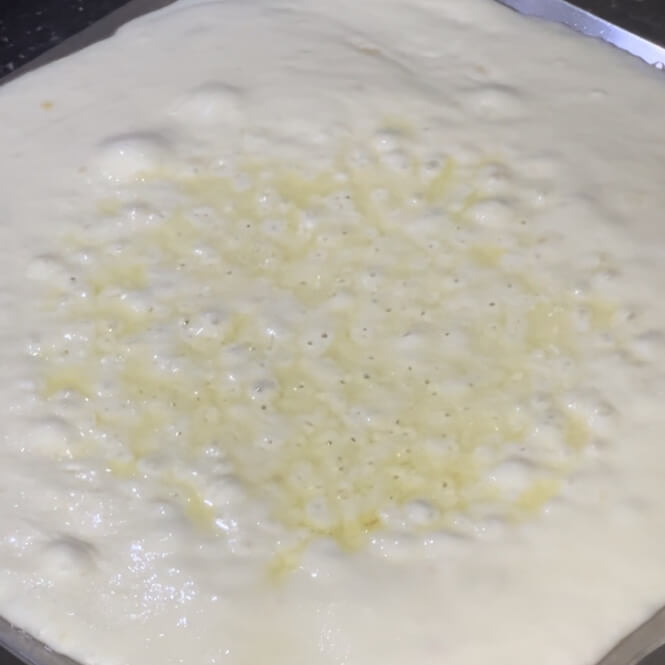
After 15 minutes, when the consistency has thickened, transfer it to a wide, flat pan. Tilt the pan around to spread the kaimak as evenly as possible. If you don't have a low pan, use a frying pan. Heat over very low heat for another 10 minutes. At this point, you can let it sit without stirring.
Finalize
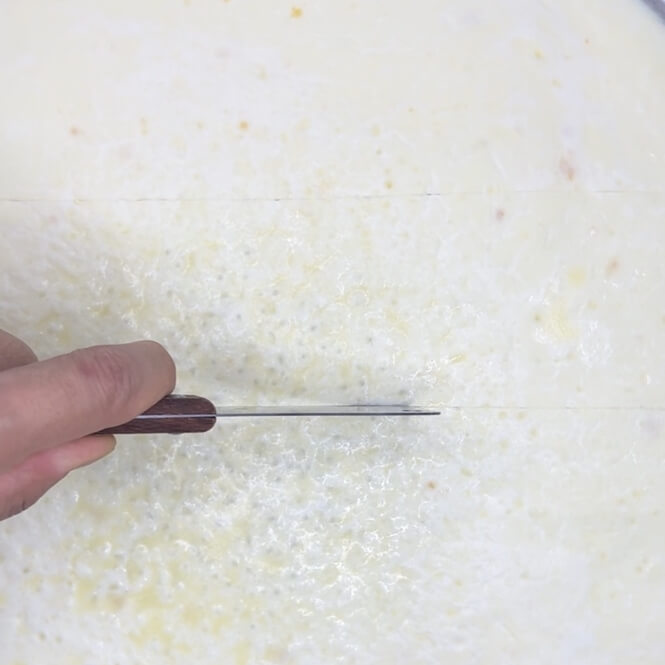
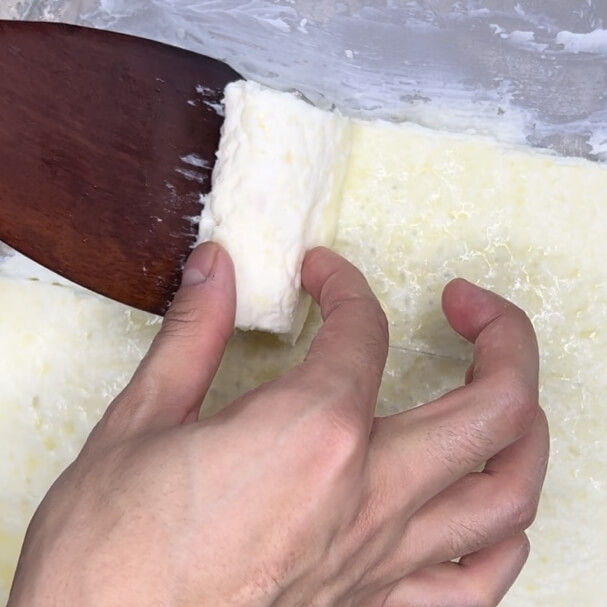
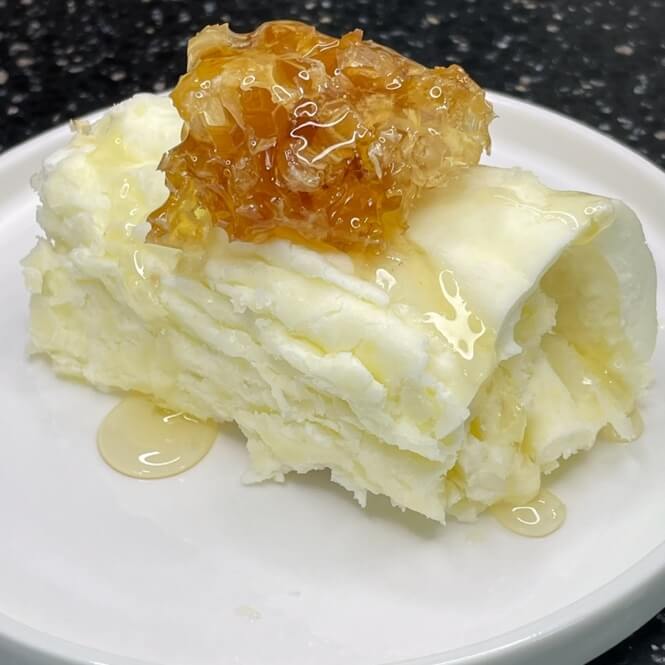
Allow the cooked kaimak to cool at room temperature for 30 minutes, then place the pan in the refrigerator to set for at least 3 hours. Once it's hardened enough, cut the kaimak out of the pan into manageable sized pieces, and use a spatula to gently lift and roll them up to create a prettier looking kaimak. You can also just scrape it off and use it.
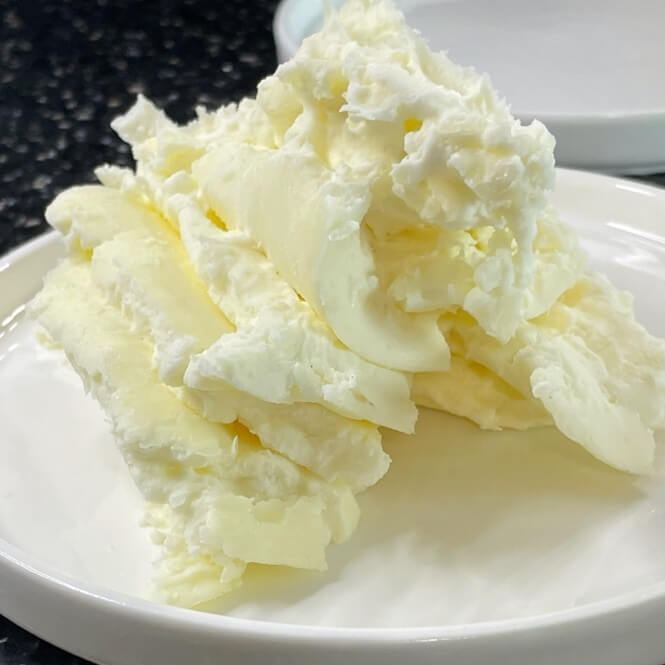
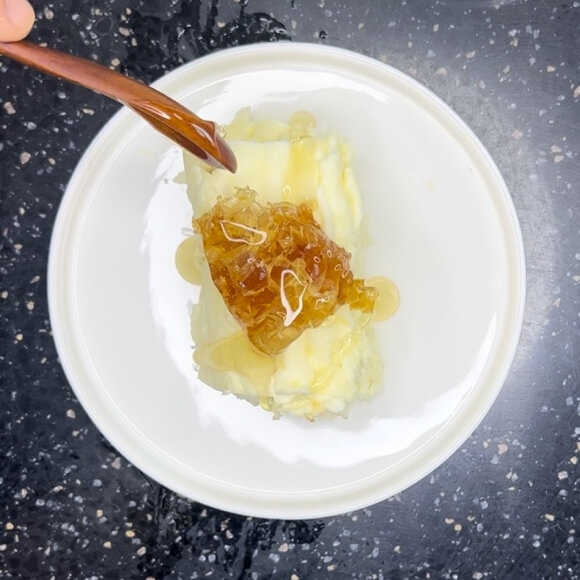
Drizzle the scooped out kaimak with honey and sprinkle with crushed nuts.
6 tips for success
- All ingredients are measured by weight, please use accurate measurements to increase your success rate.
- It's important to loosen the starchy flour well. Clumping of the flour will interfere with the texture and reduce the flavor.
- When heating in a large pan, be careful to control the heat. Even a small flame can easily burn the bottom.
- Cornstarch flour can be substituted for other starches in addition to cornstarch.
- If you can't find fresh cream, try using animal whipping cream.
- Whipped cream or whipped cream is usually labeled in ml. Be careful not to confuse ml with g, which is weight by volume.
Storage methods and precautions
- Refrigerate: Store the finished kaimak in an airtight container in the refrigerator.
- Consumption due date: In general, the Within 3-5 daysis safest and is recommended to be consumed no more than 7 days prior to use.
- Check for anomaliesIf it smells sour or has mold on the surface, don't eat it. Anything you can't see is likely already moldy and should be thrown away.
See other recommended dessert recipes
- Pave Chocolate Recipe - How to make smooth raw chocolate at home!
- Crème Brûlée Recipe - It's right out of the movie Little Forest. It's a French dessert, similar to a sweet pudding.
- Tiramisu Recipe - An easy and simple way to make tiramisu without eggs.
Closing thoughts
Today's kaimak recipe is not an authentic recipe, but a quick and easy recipe that you can make at home. It may lack the flavor and texture of the authentic recipe, but the fact that it's quick and easy to make is a big draw. It's also a delicious kaimak that's not quite as rich as the authentic version. Honey is a must, and most nuts work well with it. However, I personally like pistachios the best, and I think it brings out the flavor of the savory and soft kaimak even more when paired with a sweet, almost medicinal dessert. Try this kaimak recipe to make your own soft, flavorful dessert at home, and have a great day 😊.




1 thought on “카이막 레시피: 전분가루로 빠르고 쉽게 만드는 법”
Comments are closed.